前言#
在几个月前我有写过一篇使 Windows Terminal 变得更易用,那篇文章主要是介绍了通过安装 oh-my-posh、安装 Nerd 字体解决 oh-my-posh 字体图标不显示、解决 ssh 连接长时间不操作自动断开、启动专注模式以及去掉烦人的启动版权信息并默认管理员启动等内容,事实上只是让其变的更加好看了,易用度并没有多大的提升,但是今天我们将再次给我们的 WT 升升级。
安装必要工具#
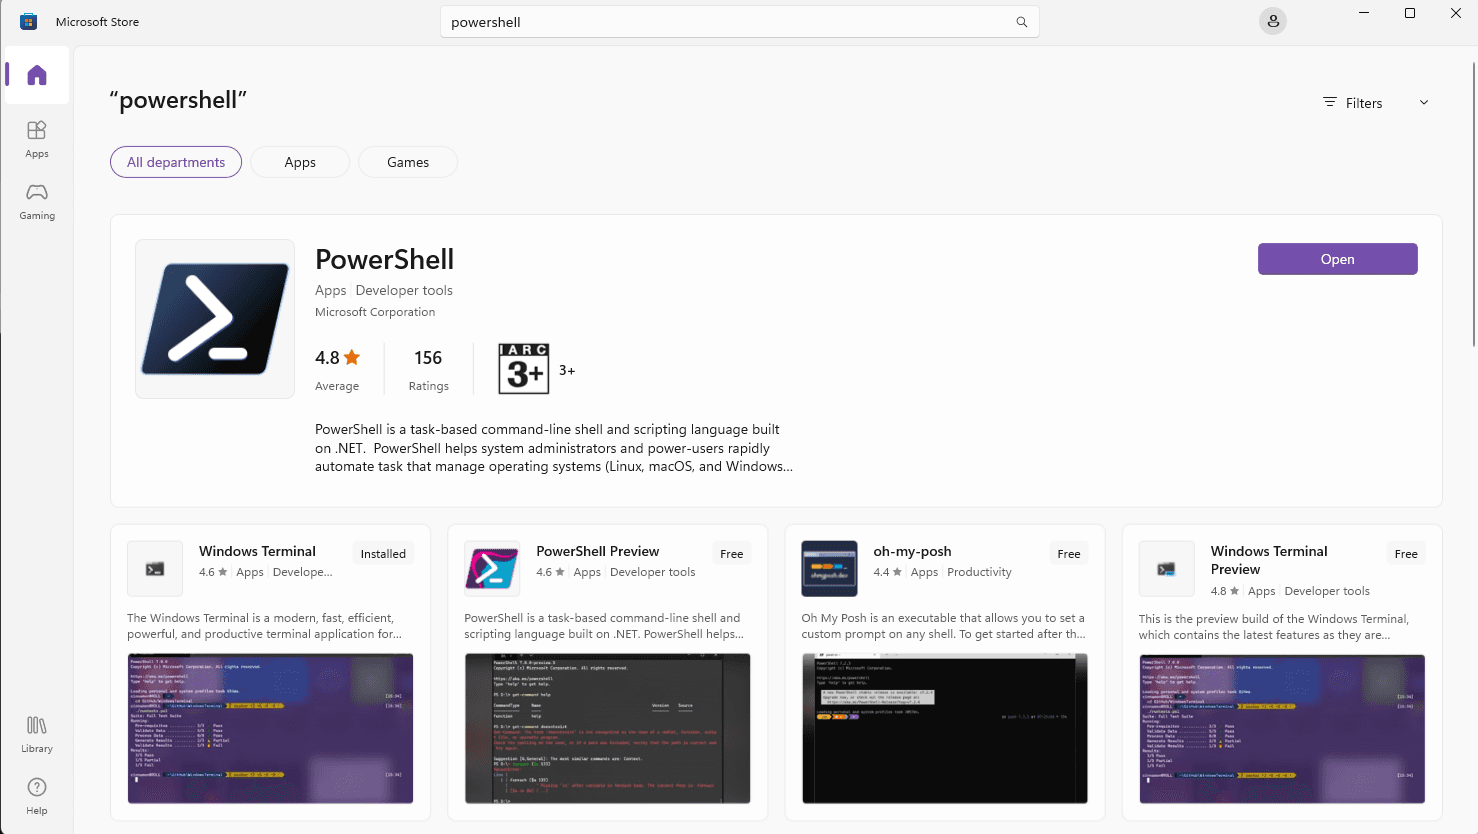
首先 Windows Terminal 肯定是必要的,其次还得取安装一个 PowerShell,这两都在微软商店中下载安装,如下图。微软商店打不开就检查一下你的网络,一般都是网络问题。
oh-my-posh 的安装我这里就不说了,可以去看我之前那篇文章。最后我们再来安装一个 ni,这是 antfu 开发的来简化我们命令操作,自动选择包管理器的一个命令行小工具,偷懒神器,没用过的赶紧用起来,跟着文档敲一行命令就安装好了,不过 Windows 下使用可能会有别名冲突问题,我下文将会提到解决办法。
探索过程及原理概述#
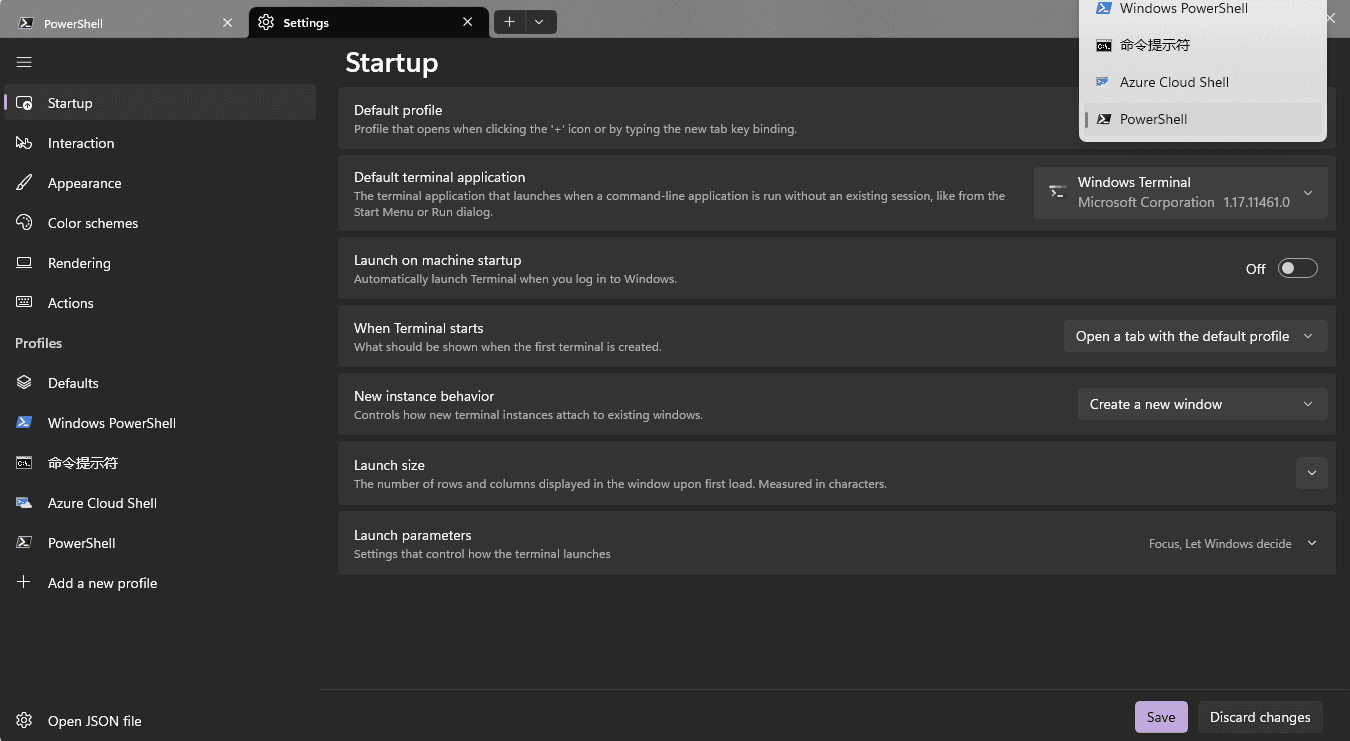
我想尝试使用 Windows Termimal 进行开发。Windows Terminal 默认可以使用 PowerShell、cmd、wsl bash 作为脚本工具。既然是在 Windows 环境下嘛,还是得尊敬一下 PoweShell 的。于是我们先把 wt 的默认 shell 更换为我们刚刚安装的微软商店的 PowerShell,如下图
其实最初的灵感是看 antfu 直播时,它总会在命令行敲一些我都没见过的一些极短的命令来实现一些操作,让我看的是一头雾水。最后我才发现它是给他的 shell 设置了一些别名,并且还在 GitHub 开源了他的 zsh 的配置文件配置文件(Mac 党大喜,可以直接抄走了😂),但是没钱买 Mac 现在只有 Windows 的我该如何在 Windows Termimal 上实现类似的功能呢,于是开始了我的尝试。
如果搜索关键词 windows powershell set user alias,通常谷歌会给出微软官方文档,但是这个文档只是告诉我们如何在脚本里面设置临时的别名,如果要设置永久别名,该怎么办?实际上,“别名” 这种东西,也就是 alias,几乎所有的脚本语言,都没有所谓的 “永久别名”(Permanent alias),我们使用 Linux bash 、Cmder 之类的脚本工具,打开终端时,系统会默认执行一个脚本文件( bash 是用户目录下的 .bashrc,Cmder 是 config/user_aliases.cmd ),而这样的脚本文件里,就包含了别名的定义。这也是为什么,我们在 Linux 类系统中,修改 .bashrc 后,必须要重新登出登录、或者 source .bashrc 的原因了。
所以,我们只要修改 Powershell 启动时执行的文件就行了。很多论坛里面说,默认执行的脚本是 $Home\Documents\profile.ps1 ,也就是 C:\Users\你的用户名\Documents\profile.ps1 ,但是这并不正确,最好的方式是,先启动 PowerShell ,再执行 echo $profile,这样得到的文件路径,才是 PowerShell 的默认执行文件路径。而且这里我们需要注意的是,如果按照我之前的那篇文章配置好后,然后今天重新安装的 PowerShell 并且设置为了 wt 的默认 shell 的话,那么,你得重新配置,因为这个微软商店的 PowerShell 和 Windows 自带的 Windows PowerShell 不是一个版本,所以不共用同一套配置文件。大概为以下路径:

然后,创建这个文件就好啦。
在文件里面,写上别名设置的语句。再一次注意,假如你的别名指代的命令含有空格,就不可以使用 New-Alias 命令,因为它不能带空格,即使你把指代的命令用引号括起来也没用。那怎么办呢?问了一下 GPT,原来,正确姿势是用 function ,也就是,我们把自己要定义的指令,定义为一个函数,就行啦。
保存文件,重新启动 PowerShell 以后,不出意外,应该会报一个 File xxxxxxx\Microsoft.PowerShell_profile.ps1 cannot be loaded because running scripts is disabled on this system. 根据此链接,出现这种情况,是因为 Windows 系统为了防止恶意脚本自动执行,故默认不允许自动运行脚本。所以,在确定自己有能力把控的情况下,以管理员身份,在 PowerShell 中执行 Set-ExecutionPolicy RemoteSigned ,即可。
再次重启 PowerShell,应该可以发现,自定义别名已经生效了。
解决别名冲突与传参优化#
在进行了以上操作后,你会发现你设置的别名确实可用了,但是可能有一部分别名会与 PowerShell 本来就存在的一些别名有冲突,例如 ni 、gp 、gcm,可能后续还会遇到很多,我们的解决方案是将其强制移除就好了,在你的配置文件中加入以下代码:
Remove-Alias -Name ni -Force
Remove-Alias -Name gp -Force
Remove-Alias -Name gcm -Force
好,冲突问题解决了,但是最后还有一个问题就是,你会发现当你在使用一些需要传递参数的别名命令时,参数并不能传入,使用我们需要让我们的别名函数能够接收参数,当然不需要参数的就不用管了。我们只需要在我们的命令后添加 $args 这个自动变量,它包含当前脚本、函数或脚本块的未声明参数的数组。简而言之,它捕获所有未被预定义参数捕获的参数。例如下面这些:
function gcl { git clone $args }
function gst { git stash $args }
function grm { git rm $args }
function gmv { git mv $args }
如果你想上点强度,需要更高的自定义性,你也可用自己定义参数和提示如下:
function gcm {
    param (
        [Parameter(Mandatory=$true)]
        [string]$message
    )

    if (-not $message) {
        Write-Host "Error: You must provide a commit message." -ForegroundColor Red
        return
    }

    git commit -m $message
}
总之,玩法很多,大家可以自己慢慢研究,给大家扔一个我目前自用的配置文件,如果想换主题的话可以按照文档找到自己喜欢的主题更换第一行配置的 json 主题文件名即可。如果有其他的问题可以参考之前的那篇文章。
oh-my-posh init pwsh --config $env:POSH_THEMES_PATH\montys.omp.json | Invoke-Expression
cls
function s { nr start }
function d { nr dev }
function b { nr build }
function t { nr test }
function lint { nr lint }
function release { nr release }


function gs { git status }
function gp { git push }
function gpf { git push --force }
function gpl { git pull --rebase }
function gcl { git clone $args }
function gst { git stash $args }
function grm { git rm $args }
function gmv { git mv $args }

function main { git checkout main }
function gco { git checkout $args }

function gcob { git checkout -b $args }

function gb { git branch }
function gbd { git branch -d $args }
function gbD { git branch -D $args }

function grb { git rebase $args }
function grbc { git rebase --continue }
function gme { git merge $args}

function gl { git log }
function glo { git log --oneline --graph }

function ga { git add }
function gA { git add -A }

function gc { git commit }
function gcm {
    param (
        [Parameter(Mandatory=$true)]
        [string]$message
    )

    if (-not $message) {
        Write-Host "Error: You must provide a commit message." -ForegroundColor Red
        return
    }

    git commit -m $message
}


function gca { git commit -a }
function gcam { git commit -am $args }


function l { cls }
function q { exit }

function fuck { shutdown /s /f /t 0 }

Remove-Alias -Name ni -Force
Remove-Alias -Name gp -Force
Remove-Alias -Name gcm -Force
Just enjoy it.